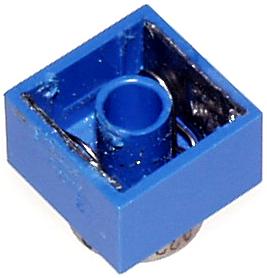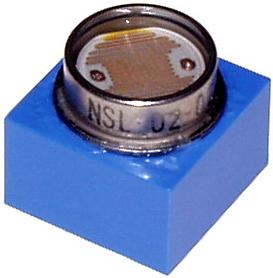

The only novelty in my design is the method I used to mate with LEGO electrical connectors. Most other designs use 4/40 machine screws or 3/16" OD brass tubing (LEGO studs are actually 5mm in diameter) to simulate a conductive stud. Actual LEGO stud connectors only connect along a 90 degree arc. In a certain pattern in a 2x2 field of studs this makes it possible to mate with a standard LEGO wire in any of the 4 orientations. Fully conductive studs require care when attaching a LEGO connector wire.
As it turns out, the underside of a LEGO connector is actually very simple. In fact it is the complexity of the stud connectors which makes this possible. There are just two metal connectors on opposite sides of the brick:

I then removed the ridges from the inside walls of the brick and thinned the wall slightly. Then I inserted each zinc strip into place (originally they were slightly longer and extended out of the brick) and superglued them. At this point the excess wire leads can be stuffed down into the brick gently (taking care not to short them out). The zinc was trimmed to length with diagonal cutters and then ground to the exact length with the dremel tool (taking care to remove the sharp edge).
The result is an ambient light sensor (used in passive/raw mode on the RCX) with huge dynamic range compared to the LEGO light sensor. A few inches from a 60 watt bulb you get raw readings around 4, and in a mostly dark room you get readings over 400.